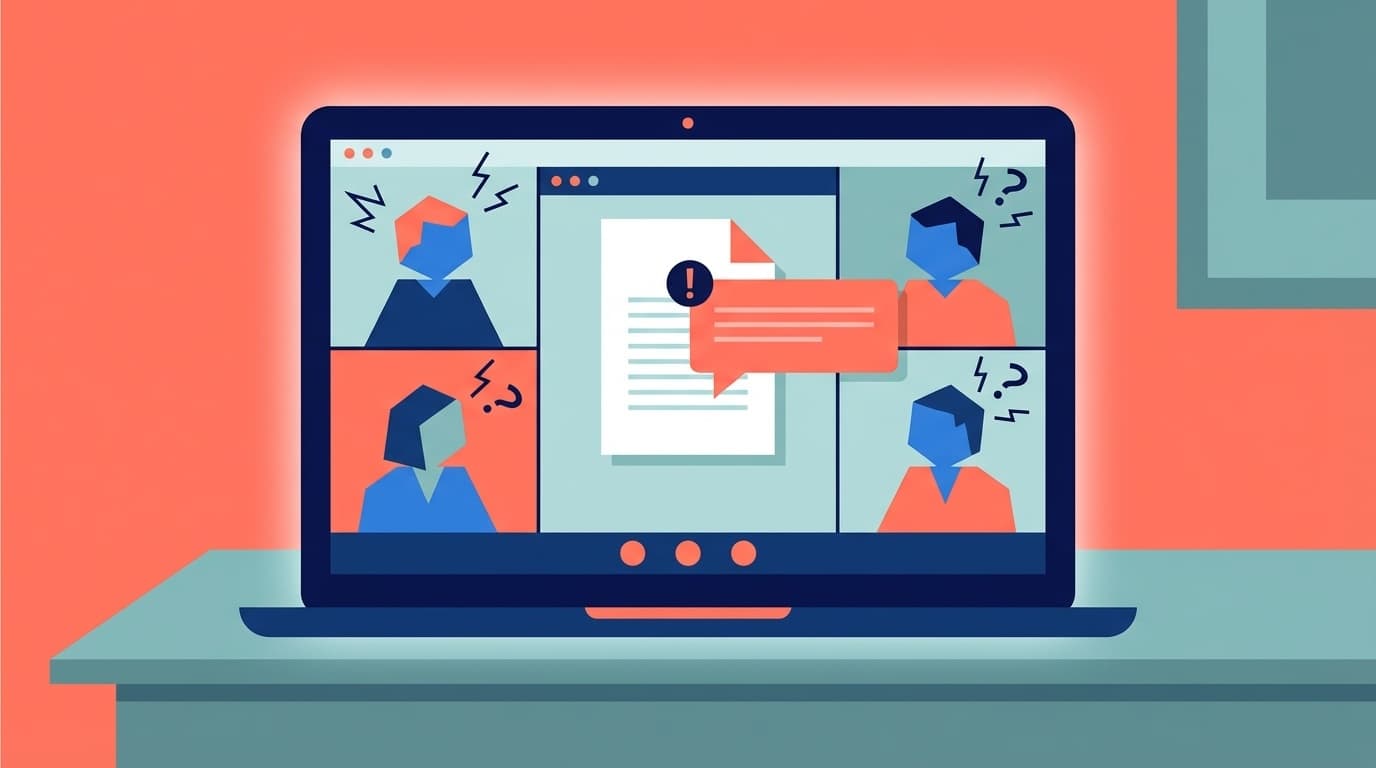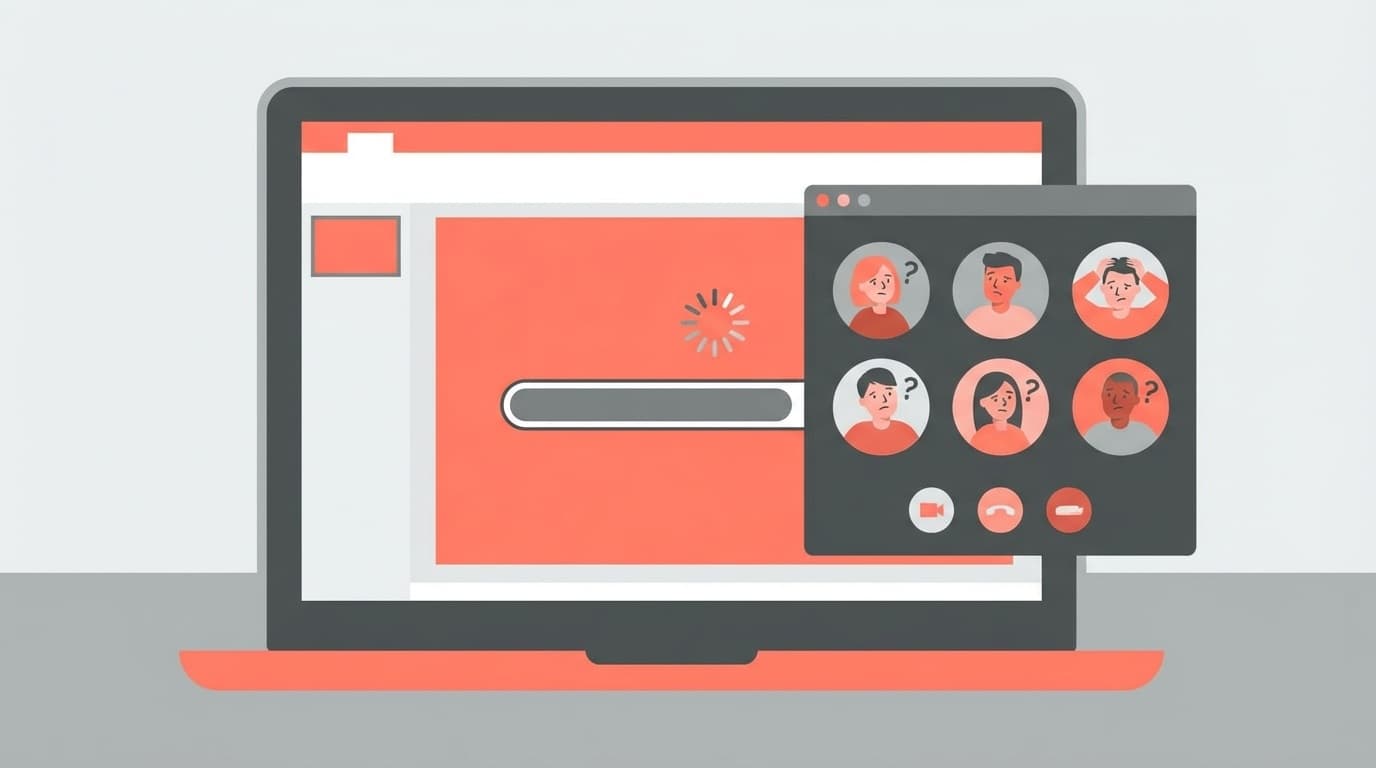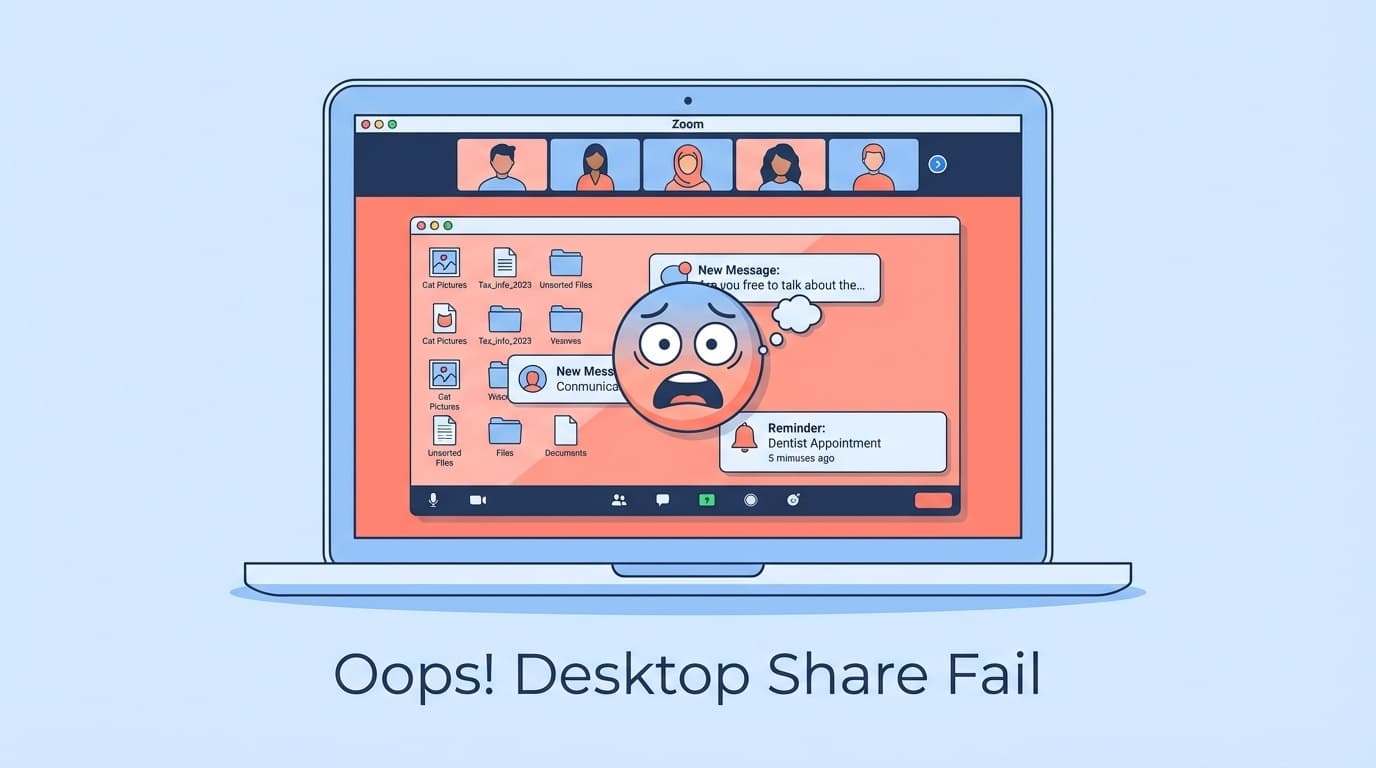
When I tried to show presentation materials in a Zoom meeting, my entire desktop was shared and everyone could see my LINE notifications and private bookmarks——. Have you ever experienced such a "screen sharing accident"?
Even on SNS, there is no end to the voices saying, ``I accidentally shared the entire screen'' and ``I showed my desktop full of icons.'' Mistakes in screen sharing run the risk ofinstantly damaging trustand can lead to leaks of personal and confidential information.
In this article, we will explain 5 settings and countermeasures in an easy-to-understand step-by-step manner to prevent ``accidents of showing things you don't want to show'' during Zoom meetings.
Why do we do "full screen sharing" in the first place?
When you press the "Screen sharing" button on Zoom, a screen will appear where you can select the person to share. There are roughly two options here.
- 'Desktop' or 'Screen': Share your entire desktop. The other person can see everything on the screen
- Separate application windows: Only the app you choose, such as PowerPoint or your browser, is visible to others
Many accidents are caused by clicking on the "Desktop" displayed at the top. Especially when you're in a hurry, you tend to ``select the top one'', which ends up showing the entire desktop.
What's more, during full-screen sharing, everything is visible, including notification banners, the list of apps on the taskbar, and browser tab names. For example, it is not uncommon for a tab on a job search site or a LINE message from a friend to be visible.
[Countermeasure 1] Use "window sharing" to show only the app
The simplest and most effective way to prevent screen sharing accidents is to choose "window sharing" instead of the entire desktop.
Procedure (common for Windows and Mac)
- Click the Share Screen button at the bottom of the screen during a Zoom meeting
- When the list of sharing targets is displayed, do not select "Desktop" or "Screen"
- Select the window of the application you want to share (e.g. PowerPoint, Chrome, Excel, etc.)
- Click Share
When you use window sharing, only the screen of the selected app is displayed to the other party. Even if there is another window behind the app, the other person will not see it at all.
Get into the habit of choosing only the apps you want to show, such as using PowerPoint when giving a presentation and using the browser when you want to show a website.
[Countermeasure 2] Disable "Desktop Sharing" in administrator settings
If your company or organization uses Zoom, the administrator (account owner) can prohibit "desktop sharing". By setting this, "Desktop" will no longer be displayed on the participants' shared screen, physically preventing the accident of selecting the wrong one.
Setup procedure (for administrators)
- Sign in to Zoom Web Portal
- Open Settings → Meetings → Screen Sharing in the left menu
- Turn on Disable desktop screen sharing for meetings
- Save and Done
This setting can be applied per account/group. If you do not have administrator privileges, ask your IT department to set it up for you.
The Zoom official support page (as of March 2026) states that this feature is available in versions 5.4.0 and later. If you are using an older version, please update first.
[Measure 3] Turn off notifications on Windows/Mac in advance
Even if you are sharing a window, desktop notifications (toast notifications) may be displayed overlapping the window. This notification is the reason why new messages and email subjects on LINE are displayed on the shared screen.
For Windows (Windows 11)
- Click the clock area at the right end of the taskbar → Open the notification panel
- Turn on Do Not Disturb (Do Not Disturb) in the top right corner
- Alternatively, turn on Do Not Disturb from Settings → System → Notification
For Mac (macOS Sequoia or later)
- Click Control Center in the top right corner of the screen
- Turn on "Do Not Disturb" → "Do Not Disturb"
Zoom has a function that automatically suppresses notifications during screen sharing, but we recommend that you make sure to block them in the OS settings. Make it a habit to turn off notifications when the meeting starts.
[Measures 4 and 5] Two preparations you can make before the meeting
In addition to the settings, you can significantly reduce accidents by taking some time before the meeting.
Measure 4: Close unnecessary apps and tabs
A good rule of thumb is to close all non-meeting applications and browser tabs before sharing. Even if you end up sharing your desktop, you can minimize the damage if there is nothing on the screen that you don't want to see.
- Close the desktop app of SNS (X, LINE, Instagram)
- Close private browser tabs (career change sites, shopping sites, etc.)
- Turn off preview display in the email app
Measure 5: Make the "second desktop" exclusively for meetings
Windows 11 and macOS have a Virtual Desktop feature. If you create one desktop for the meeting and place only the materials you want to share with Zoom on it, it will be safe even if you accidentally share your desktop.
How to create a virtual desktop (Windows 11)
- Click the Task View button (the icon with overlapping □) on the taskbar
- Click New Desktop at the top of the screen
- Place only Zoom and shared materials on the new desktop
- Switch desktop with shortcut key "Ctrl + Windows key + ←→"
How to create a virtual desktop (macOS)
- Open Mission Control (F3 key or 3-finger swipe up on trackpad)
- Add a new desktop using the "+" button at the top of the screen
- Control + ←→ to switch desktops
What if an accident occurs? How to deal with emergencies during meetings
No matter how many precautions you take, you may end up accidentally sharing your desktop. Let's remember what to do in case of such an emergency.
- Click "Stop Sharing" now: Press the red "Stop Sharing" button at the top of the screen. The shortcut key is Alt + S (Windows) or Command + Shift + S (Mac)
- Freeze the screen with "Pause": Press "Pause" on the sharing toolbar to freeze the screen at that point. Your operations will not be visible to the other party
- Calm down and try again with "Window sharing": After stopping sharing, select the application window again and share again
Avoid rushing to turn off your computer or force quitting Zoom. It will interrupt the meeting and attract more attention.
Frequently Asked Questions (FAQ)
- Q. Will screen sharing accidents occur even when using Zoom on a smartphone (iPhone/Android)?
- A. Yes. If you select "Screen" on your smartphone, the entire smartphone screen, including the home screen and notifications, will be shared. If you are using a smartphone, turn on Do Not Disturb mode before sharing to prevent notifications from appearing in the image.
- Q. Can individuals also ``disable desktop sharing'' in Zoom settings?
- A. You can also change this setting from the Zoom web portal for personal accounts (free/Pro). However, if the account is locked by an administrator in an organization, it cannot be changed by an individual.
- Q. Will the content shown during screen sharing remain in the recording?
- A. If the host or participant is using cloud recording or local recording, the shared screen will be recorded as is. Review the recording and ask the host to delete or edit the recording if necessary.
- Q. Are there any cases where "window sharing" is dangerous?
- A. Window sharing is basically safe, but If you share a browser, tab names may be visible. Avoid opening tabs in shared browser windows that you don't want people to see.
References
- Sharing your screen or desktop on Zoom|Zoom Official Support (viewed March 2026)
- Disabling desktop screen sharing in meetings | Zoom Official Support (viewed March 2026)
- Managing advanced screen sharing settings | Zoom official support (viewed March 2026)